Have you ever tried baking a dessert that’s both light and incredibly moist, only to end up with a dense mess? Chiffon cakes are celebrated for their airy texture, but many home cooks find them tricky to perfect.
In this guide, I’ll share the secrets to mastering chiffon cakes, ensuring your desserts are always fluffy and delicious. Did you know that using the right tube pan and achieving stiff peaks in your egg whites are key to a perfect rise?
With years of baking experience and countless chiffon cakes under my belt, I’ve encountered and solved the common problems that can turn your batter into a flop. From choosing between cake flour and all-purpose flour to the best cooling techniques, I’m here to share what I’ve learned.
Let’s get started and make the fluffiest chiffon cake together!
Key Takeaways
- Use an ungreased tube pan for even rising and a fluffy texture.
- Whip egg whites to stiff peaks with cream of tartar for lightness.
- Bake chiffon cakes at 325°F on the center rack of the oven.
- Choose cake flour over all-purpose flour for a moister cake.
- Cool the cake upside down to keep it fluffy and prevent sinking.
Essential Equipment for Chiffon Cake

When I bake a chiffon cake, having the right tools is essential. A special cake pan and a reliable mixer help me create that light and fluffy texture I love.
Tube pan
Using the right cake pan makes all the difference. I always choose an ungreased tube pan for my chiffon cakes. This pan helps the cake rise evenly with its central tube. Without greasing, the baking powder can work properly, giving the cake its light texture.
The tube also allows heat to circulate, ensuring a moist and fluffy finish. I love how my cakes turn out perfectly every time with this simple tool.
Whisk and spatula
I rely on a good whisk to beat my egg whites with cream of tartar until they reach firm peaks. Using castor sugar helps stabilize the meringue, making it smooth and glossy. A sturdy spatula is essential for folding the meringue into the yolk mixture.
This folding technique keeps the batter airy and prevents it from deflating. With these tools, I achieve a light and fluffy chiffon cake every time.
Key Ingredients for the Perfect Chiffon Cake
Choosing the right flour is key—I always go for cake flour because it’s so fine. Using egg whites and cream of tartar makes my cake rise light and fluffy every time.

Cake flour vs. all-purpose flour
I love using cake flour for my chiffon cakes. It makes them light and fluffy. Cake flour has less protein, which keeps the cake moist. If you don’t have cake flour, you can use all-purpose flour instead.
Just measure it carefully. Sifting the flour helps avoid lumps and keeps the batter smooth.
Using the right flour is a key baking technique. Next, let’s talk about the importance of egg whites and cream of tartar.
Importance of egg whites and cream of tartar
Alongside choosing the right flour, selecting key ingredients like egg whites and cream of tartar is essential. Egg whites give chiffon cake its light and airy texture. I always whip them to stiff peaks.
This means the egg whites stand firm when I lift the whisk. Adding cream of tartar helps keep the meringue stable. It stops the whipped egg whites from falling flat. Using large eggs provides the volume needed for a perfect rise.
Mixing the whipped egg whites carefully into the batter keeps the mixture fluffy. Cream of tartar plays a key role in maintaining the structure. In my baking, fresh egg whites give the best results.
This technique is similar to making meringues, where stability is crucial. Achieving stiff peaks ensures the cake remains moist and fluffy after baking.
Mastering egg whites is the key to fluffy chiffon cakes.
Step-by-Step Guide to Making Chiffon Cake
When I bake a chiffon cake, I start by mixing the egg yolks in a large bowl. Then, I use a whisk to beat the egg whites until they form stiff peaks, ensuring the batter stays light and fluffy.
Preparing the yolk mixture
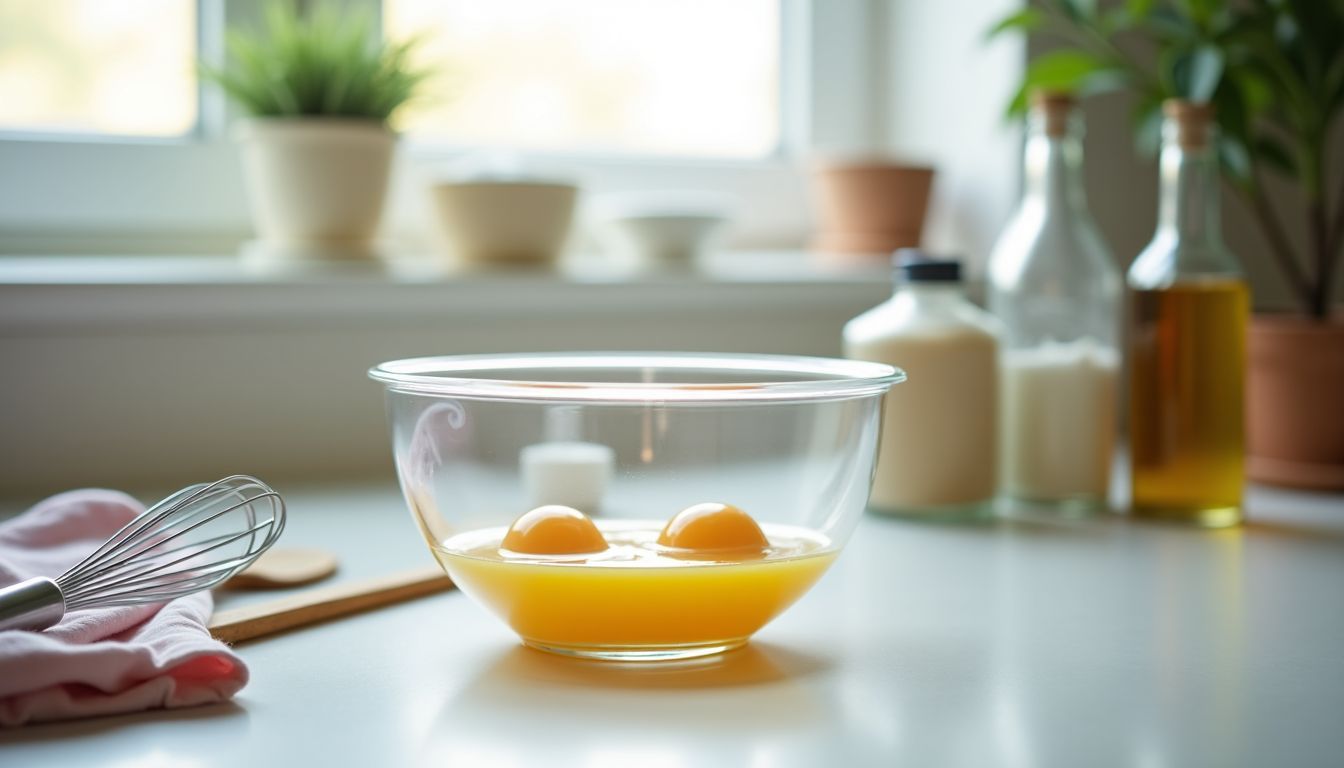
I start by mixing the egg yolks until they are smooth and creamy. This step is crucial for a moist cake. Next, I add granulated sugar to the yolk mixture, stirring until it dissolves completely.
Then, I pour in some water or whole milk to keep the batter light. Finally, I add vegetable oil, which makes the cake tender and fluffy. Combining these ingredients creates the perfect foundation for a delicious chiffon cake.
Achieving stiff peaks in meringue
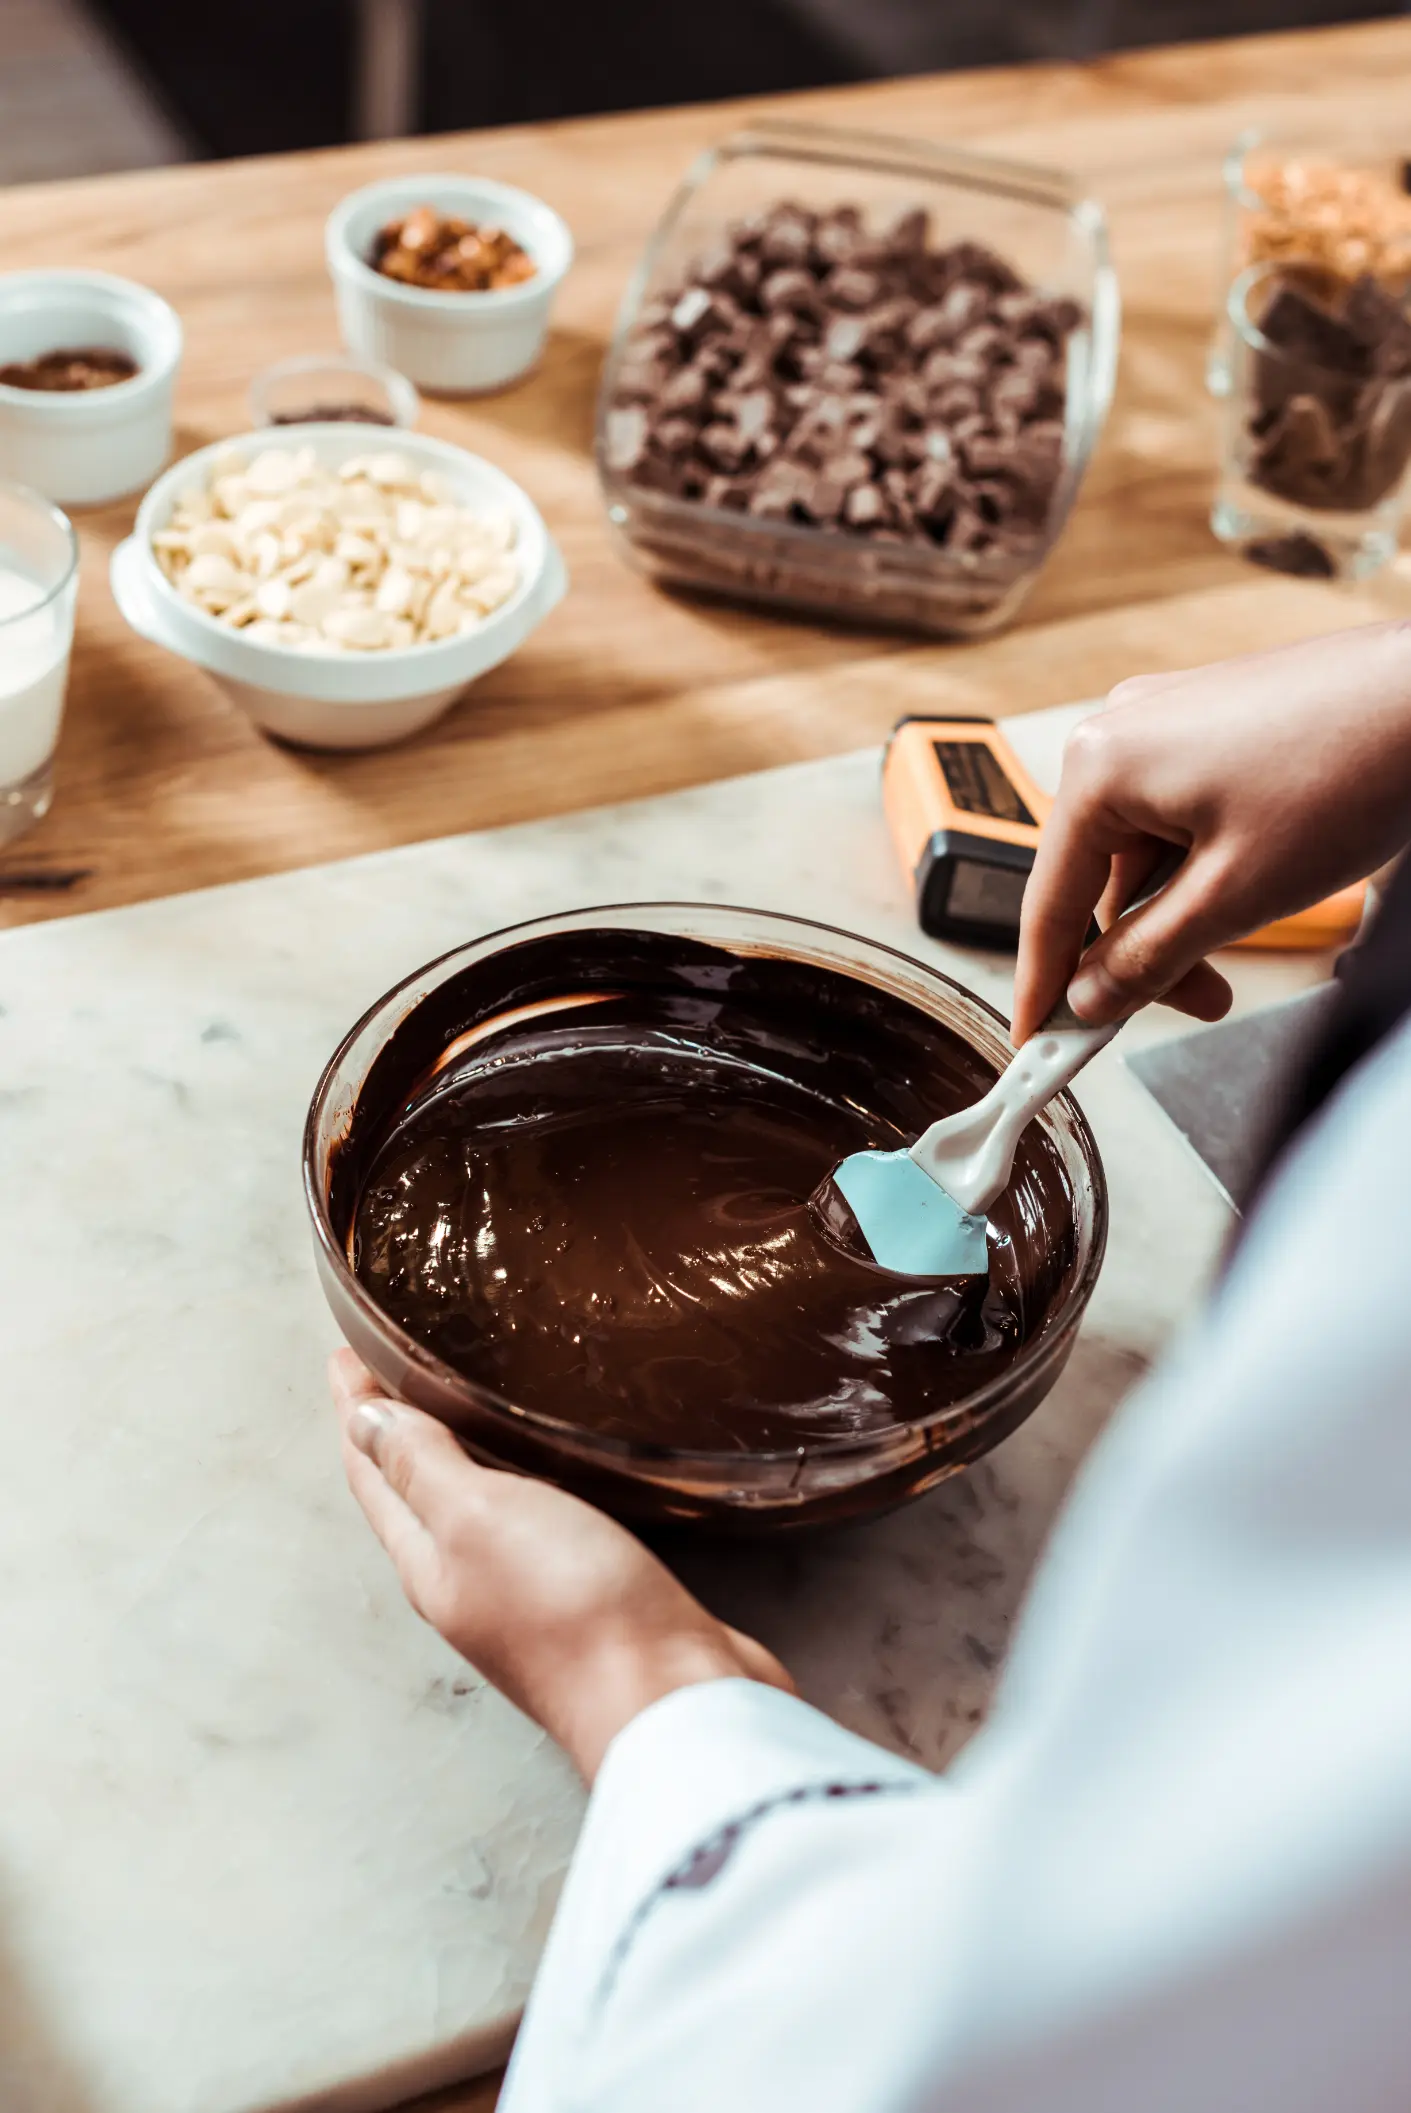
I find that an electric mixer is essential for achieving stiff peaks in meringue. I start by whipping egg whites until they become frothy, then gradually add a teaspoon of sugar. As I continue mixing, the whites firm up and hold their shape, creating a fluffy meringue perfect for my chocolate chiffon cake.
Combining ingredients without deflating the batter

After achieving stiff peaks in the meringue, I gently fold it into the yolk mixture using a whisk. This careful technique keeps the batter smooth and airy, essential for a light chiffon cake.
I use a spatula to lift the batter from the bottom, ensuring I don’t deflate the whipped cream. Keeping the mixture airy helps the cake bake up perfectly fluffy and delicious.
Baking and Cooling Techniques
I preheat my oven to the perfect temperature and place the pan right in the center. After baking, I let the cake cool upside down on a wire rack to keep it light and fluffy.
Optimal oven temperature and placement
I set my oven to 325°F for baking chiffon cakes. This temperature helps the cake rise perfectly without burning. I place the tube pan in the center rack. This spot ensures even heat distribution.
Using the middle of the oven avoids hot spots that can make the cake sink. I always preheat the oven to the right temperature before baking. This step is crucial for the best results.
Watching the baking time closely ensures the cake stays light and fluffy.
After baking, I let the cake cool upside down. I use the tube pan’s clips to secure it. Cooling upside down keeps the cake from collapsing. It also maintains its airy texture. Proper oven placement and temperature make a big difference.
These baking techniques turn a simple batter into a delicious chiffon cake every time.
Cooling the cake upside down
After baking, I carefully invert the tube pan onto a cooling rack. This upside-down cooling keeps my chiffon cake’s shape strong. Using the right bakeware, like a tube pan, makes a big difference.
The cake cooling method prevents the sponge cake from deflating. I’ve found that letting it cool this way keeps the texture light and fluffy. This simple step ensures my dessert stays moist and perfect for any occasion.
Troubleshooting Common Chiffon Cake Problems
Sometimes my chiffon cake sinks after baking, but adjusting the oven settings made a big difference. If your meringue isn’t stiff or the batter has lumps, these simple fixes can help you achieve a perfect cake.
Why the cake might not rise
I’ve had my fair share of chiffon cakes that just wouldn’t rise. Using the right pan is crucial—a tube pan works best because it helps the heat circulate evenly. If you use a different pan, the cake might stay underbaked and fail to lift.
Another thing I noticed is the timing after making the meringue. If there’s a delay, the egg whites lose their stiffness and can’t support the cake’s rise. Making sure your oven is at the right temperature and baking the cake right away after whipping the egg whites can make all the difference.
These tips helped me achieve the light and fluffy texture I was aiming for.
Solutions for a deflated cake
A deflated chiffon cake can be frustrating. To fix this, bake the batter right after mixing. Letting it sit too long lets the air escape, causing the cake to sink. Also, check your oven temperature with a thermometer.
An accurate temperature helps the cake rise properly.
Another solution is to ensure your egg whites are beaten to stiff peaks with cream of tartar. Properly whipped egg whites add structure and keep the cake fluffy. Gently fold the meringue into the batter to maintain its lightness.
These tips can help your chiffon cake stay airy and beautiful.
Dealing with dryness or lumps in the batter
I used to worry when my chiffon cakes turned dry, but keeping a close eye on the baking time made all the difference. I always set a timer and test the cake with a toothpick a few minutes before it’s done.
Staying on top of the oven time helps keep the cake moist because overbaking removes too much moisture.
Sometimes, small lumps from the meringue show up in the batter. As long as the cake stays fluffy and tender, these lumps are okay. They don’t affect the taste or texture. I use a gentle spatula to fold the meringue into the yolk mixture carefully.
This helps keep the batter light and prevents too many lumps from forming.
Advanced Tips for Perfecting Chiffon Cake
I found that using different pan shapes and adding flavors like citrus zest or cocoa really perfects my chiffon cake—read on to learn how!
Adjustments for different pan sizes
I adjust my chiffon cake recipe based on the pan size I use. For a 9-inch bundt pan, I double all the ingredients. This ensures the batter fills the pan and the cake stays light and fluffy.
Baking time needs to increase too. I usually add about 10 extra minutes to the usual time. Checking the cake with a toothpick helps me know when it’s done. These changes make sure my chiffon cakes turn out perfect, no matter the pan size.
Next, let’s explore some tasty flavor variations you can try.
Flavor variations: Adding extracts or zest
I love using vanilla extract in my chiffon cakes. It makes them sweet and tasty. Sometimes, I add lemon zest for a fresh flavor. The zest gives the cake a bright taste. I also try almond extract or coconut extract to mix things up.
For a chocolatey touch, a bit of chocolate ganache on top is perfect. When I want something different, I add matcha powder. Switching regular milk with almond milk or oat milk adds a nice change too.
These flavors keep my chiffon cakes fun and delicious.
Next, let’s talk about the best ways to bake and cool your cake.
Storing and Serving Chiffon Cake
I wrap my chiffon cake tightly and keep it in the fridge to stay fresh, then I love serving it with fresh berries and whipped cream—explore more ways to enjoy it below!
Best practices for freshness
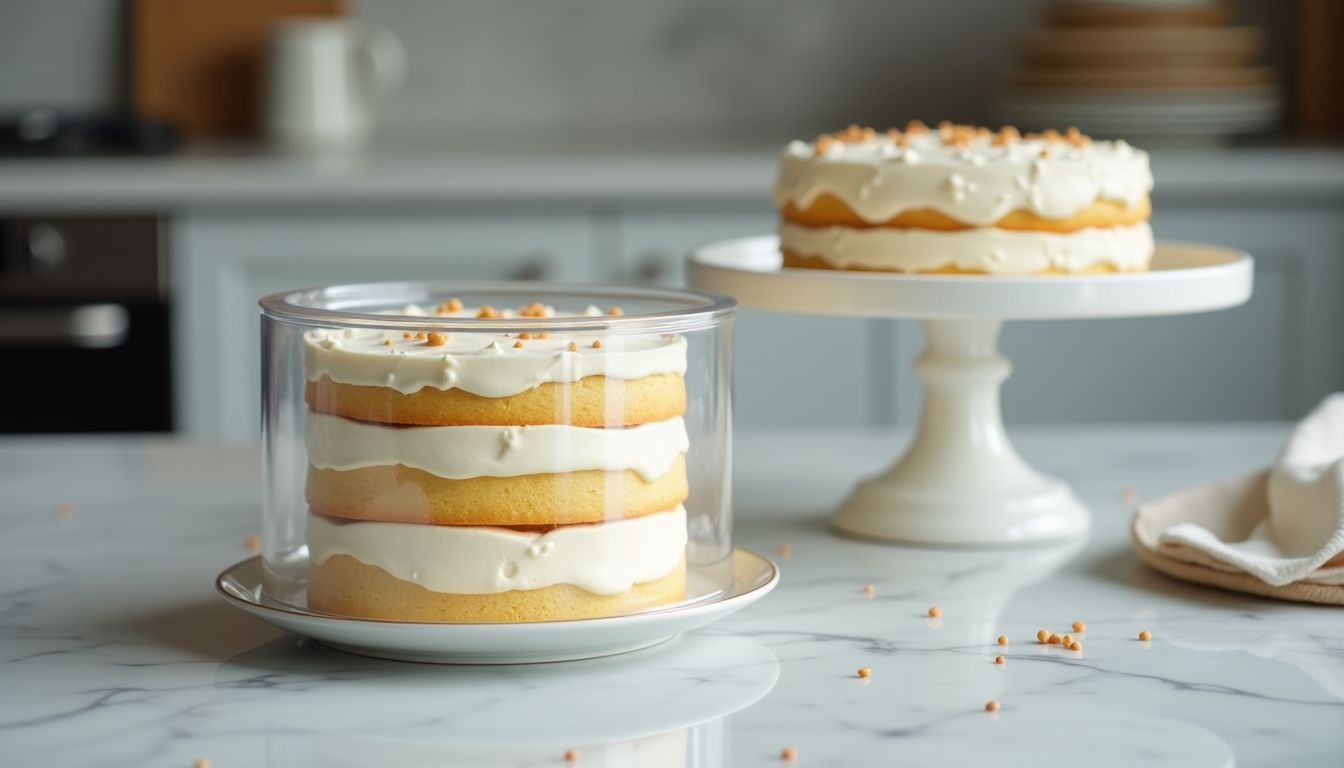
To keep your chiffon cake fresh, I store it in an airtight container at room temperature for one to two days. This makes it easy to enjoy without any fuss. If I need it to last longer, I put it in the fridge for three to four days.
For the best long-term storage, the freezer is perfect. Wrapped tightly in plastic and foil, my chiffon cake stays good for up to one month. When I’m ready to serve, I let it thaw in the fridge.
This way, the cake stays light and fluffy, just like when it was first baked. Whether you love angel food cake or red velvet, these storage tips help every sponge cake stay delicious.
Creative serving suggestions
I love serving my chiffon cake plain to highlight its light, fluffy texture. Sometimes, I drizzle chocolate frosting over a slice for extra sweetness. A dollop of custard or a scoop of pudding adds a creamy touch that pairs perfectly.
Serving the cake with fresh strawberries turns it into a strawberry shortcake delight. I also enjoy offering milk alternatives to make it everyone-friendly. Pairing a slice with a hot cup of coffee really brings out the cake’s flavors.
These simple ideas make your chiffon dessert feel special and delicious.
Conclusion
Creating chiffon cakes has been such a joyful journey for me. Every fluffy bite reminds me why I love baking at home. I hope my tips help you make your own light and airy desserts.
Share your experiences and join our baking family. Let’s continue making sweet memories together!