How To Temper Chocolate: Expert Techniques For Perfect Results
Have you ever tried to temper chocolate, only to end up with a dull, grainy mess instead of that smooth and glossy finish? It can be so frustrating when your homemade treats don’t come out as planned.
Tempering chocolate might seem like a tricky process, but it doesn\’t have to leave you feeling disappointed. Through trial and error—and a lot of research—I’ve learned a foolproof way to temper chocolate with two different techniques.
Here’s an important tip: properly tempered chocolate maintains a shiny, hard texture at room temperature—ideal for your candy-making endeavors.
Want reliable results every time? Keep reading!
Key Takeaways
- Proper tempering requires maintaining specific temperatures: melt chocolate to around 115°F (46°C) and then cool it down to between 88°F and 92°F (31°C to 33°C).
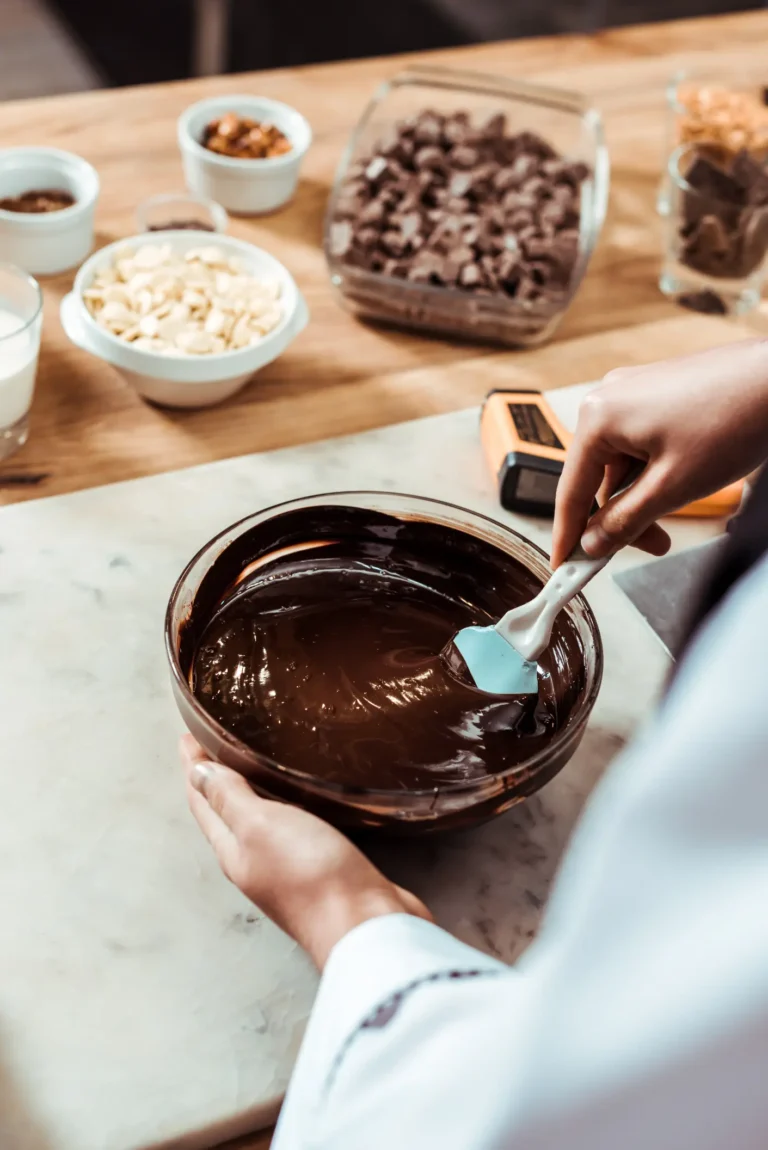
- Essential tools include a good digital thermometer, a heat-proof bowl, silicone spatulas, and either a double boiler or microwave for controlled heating.
- The seeding method is an effective technique where you add solid chocolate chunks into melted chocolate until the mixture cools to 84°F before gently reheating.
- Humidity can significantly affect tempering; always work in dry conditions and ensure all equipment is moisture-free.
- Overheating above 145°F will ruin your chocolate by making it thick and grainy; accurately monitor temperature throughout the process.
Understanding Chocolate Tempering
Tempering chocolate feels like magic. It makes your desserts look shiny and taste better!
The Science Behind Tempering

Hello, chocolate lovers! Today I want to delve a little deeper into the fascinating science behind chocolate tempering. Understanding this process will help you achieve that perfect, glossy finish and satisfying snap every time.
Chocolate is a complex substance, made up of several different types of crystals. In fact, there are six different crystal forms, each with its own melting point and properties. However, for the best results, we aim for one specific crystal form—Form V. This form is the key to perfectly tempered chocolate, providing that smooth, shiny appearance and the firm, crisp texture we all love.
Understanding Crystal Forms
- Form I and II: These crystals form at lower temperatures and result in soft, crumbly chocolate that melts too easily. They’re far from ideal for tempering.
- Form III and IV: These crystals form at slightly higher temperatures but still don’t provide the stability we need. Chocolate with these forms is often dull and lacks that desirable snap.
- Form V: This is our target. Form V crystals give chocolate its glossy finish, smooth texture, and satisfying snap. Achieving this form is the goal of tempering.
- Form VI: These crystals form over time as chocolate ages. While they are stable, they don’t contribute to the glossy, smooth texture we want for freshly tempered chocolate.
Below is a great illustration of the Chocolate Tempering Temperatures and what Polyform type you can expect!
The Tempering Process
To achieve Form V crystals, the chocolate must go through a precise melting and cooling process:
- Melting:
- Start by melting your chocolate to about 115°F (46°C). This temperature ensures that all the existing crystals are melted, giving you a clean slate.
- Cooling:
- Next, cool the chocolate down to between 88°F and 92°F (31°C to 33°C). This is the sweet spot where Form V crystals begin to form. Be careful during this stage—maintaining this temperature range is crucial.
- Avoiding Mistakes:
- It’s essential not to let the chocolate drop below 81°F (27°C) during this process. If it does, you’ll end up with poorly tempered chocolate, characterized by a dull finish and a lack of snap.
Tools and Tips
Using a digital thermometer is incredibly helpful in this process. It allows you to monitor the temperatures accurately, ensuring that your chocolate stays within the ideal range. Additionally, stirring the chocolate continuously while cooling helps distribute the forming crystals evenly, promoting a uniform texture and appearance.
Why It Matters
Perfectly tempered chocolate is not just about aesthetics. The structure of Form V crystals also affects how the chocolate behaves when it’s used in various applications, from dipping and molding to creating glossy coatings for pastries and confections. Proper tempering ensures that your chocolate will set quickly, with a professional finish that enhances both the look and the texture of your creations.
Perfectly tempered chocolate is like magic in your hands.
Why Proper Tempering is Crucial

Proper tempering keeps the chocolate looking shiny and smooth. It stops that white coating, called blooming, from forming on the surface. Tempered chocolate also stays firm at room temperature, so there’s no need for refrigeration.
Melted un-tempered chocolate turns dull and soft as it cools down. Overheating above 145°F breaks down its structure while cooling below 81°F creates unstable crystals. Using a candy thermometer helps keep these temperatures in check, ensuring perfect results every time you make candies or confections.
Essential Tools for Tempering Chocolate
To temper chocolate, you need a few important tools. These items make the job much easier and help ensure smooth, shiny chocolate every time.
Thermometer

A good thermometer is key to tempering chocolate. I like using the Thermapen or the Thermopop for accurate measurements. Both are digital and easy to read. The right temperature makes a huge difference, preventing your dark chocolate or white chocolate from seizing up.
For best results, use an instant-read thermometer. Chocolate thermometers work well too, but high-quality ones give more precise readings. Don’t skip this tool—trust me, guessing just won’t cut it in candy making!
Precision is not just important… it’s essential!
Heat Source

You’ll need a reliable heat source to melt your chocolate. I usually use a double boiler, which is just a heatproof bowl set over a saucepan with simmering water. The key is to ensure the bowl doesn’t touch the water, so only gentle steam heats it.
For more control, you can also use the microwave method. With this, place chopped chocolate or chocolate chips in a microwave-safe bowl. Heat in short bursts of about 15-30 seconds and stir between each interval until smooth.
Be careful not to overheat; it’s easy to do!
Mixing Tools
Keeping your chocolate at the right temperature is only half the battle. The right mixing tools make a big difference. I always keep a sturdy mixing bowl and spatula handy.
The bowl should be heat-proof, so it can handle warm cocoa butter and melting chocolate without any issues. A good silicone spatula helps me scrape every bit of chocolate from the sides of the bowl—no waste here! As I slowly add in more chocolate, stirring until it reaches 84°F, this tool becomes my best friend.
Stirring well encourages stable cocoa fat crystals to form, which gives that shiny finish we all love!
Step-by-Step Techniques on How to Temper Chocolate
Tempering chocolate can feel like magic when you get it right. Let’s explore some expert techniques to make that perfect batch!
Seeding Method

Tempering chocolate may sound tricky, but the seeding method makes it easy. Follow these steps for perfect, shiny chocolate every time.
- Melt the Chocolate:
- Use 16 ounces of solid chocolate.
- Chop 2/3 of it with a serrated knife. Reserve the 1/3 for seeding after melting the chocolate.
- Heat to 115°F (110°F for milk or white chocolate) in a double boiler or microwave.
- Remove from Heat:
- Take the bowl off the heat source once melted.
- Make sure no water splashes in to prevent seizing up.
- Add Seed Chocolate:
- Gradually add the remaining 1/3 solid chocolate into the melted batch.
- Stir continuously until it cools to 84°F.
- Reheat Slightly:
- Warm it back up gently to 89°F.
- Stay under 91°F to maintain temper.
- Test Temper:
- Dip a small corner of parchment paper into the chocolate.
- Let it sit and check if it sets firm and glossy.
- Use Immediately:
- Now your tempered chocolate is ready for dipping or molding!
Using this method helps achieve smooth and firm results every time!
Tabling Method
Tempering chocolate using the tabling method is fun and gives great results. Here’s how to do it step-by-step:
- Melt the Chocolate
- Heat all of the chocolate until it’s completely melted.
- Use a thermometer to check that it reaches 115°F.
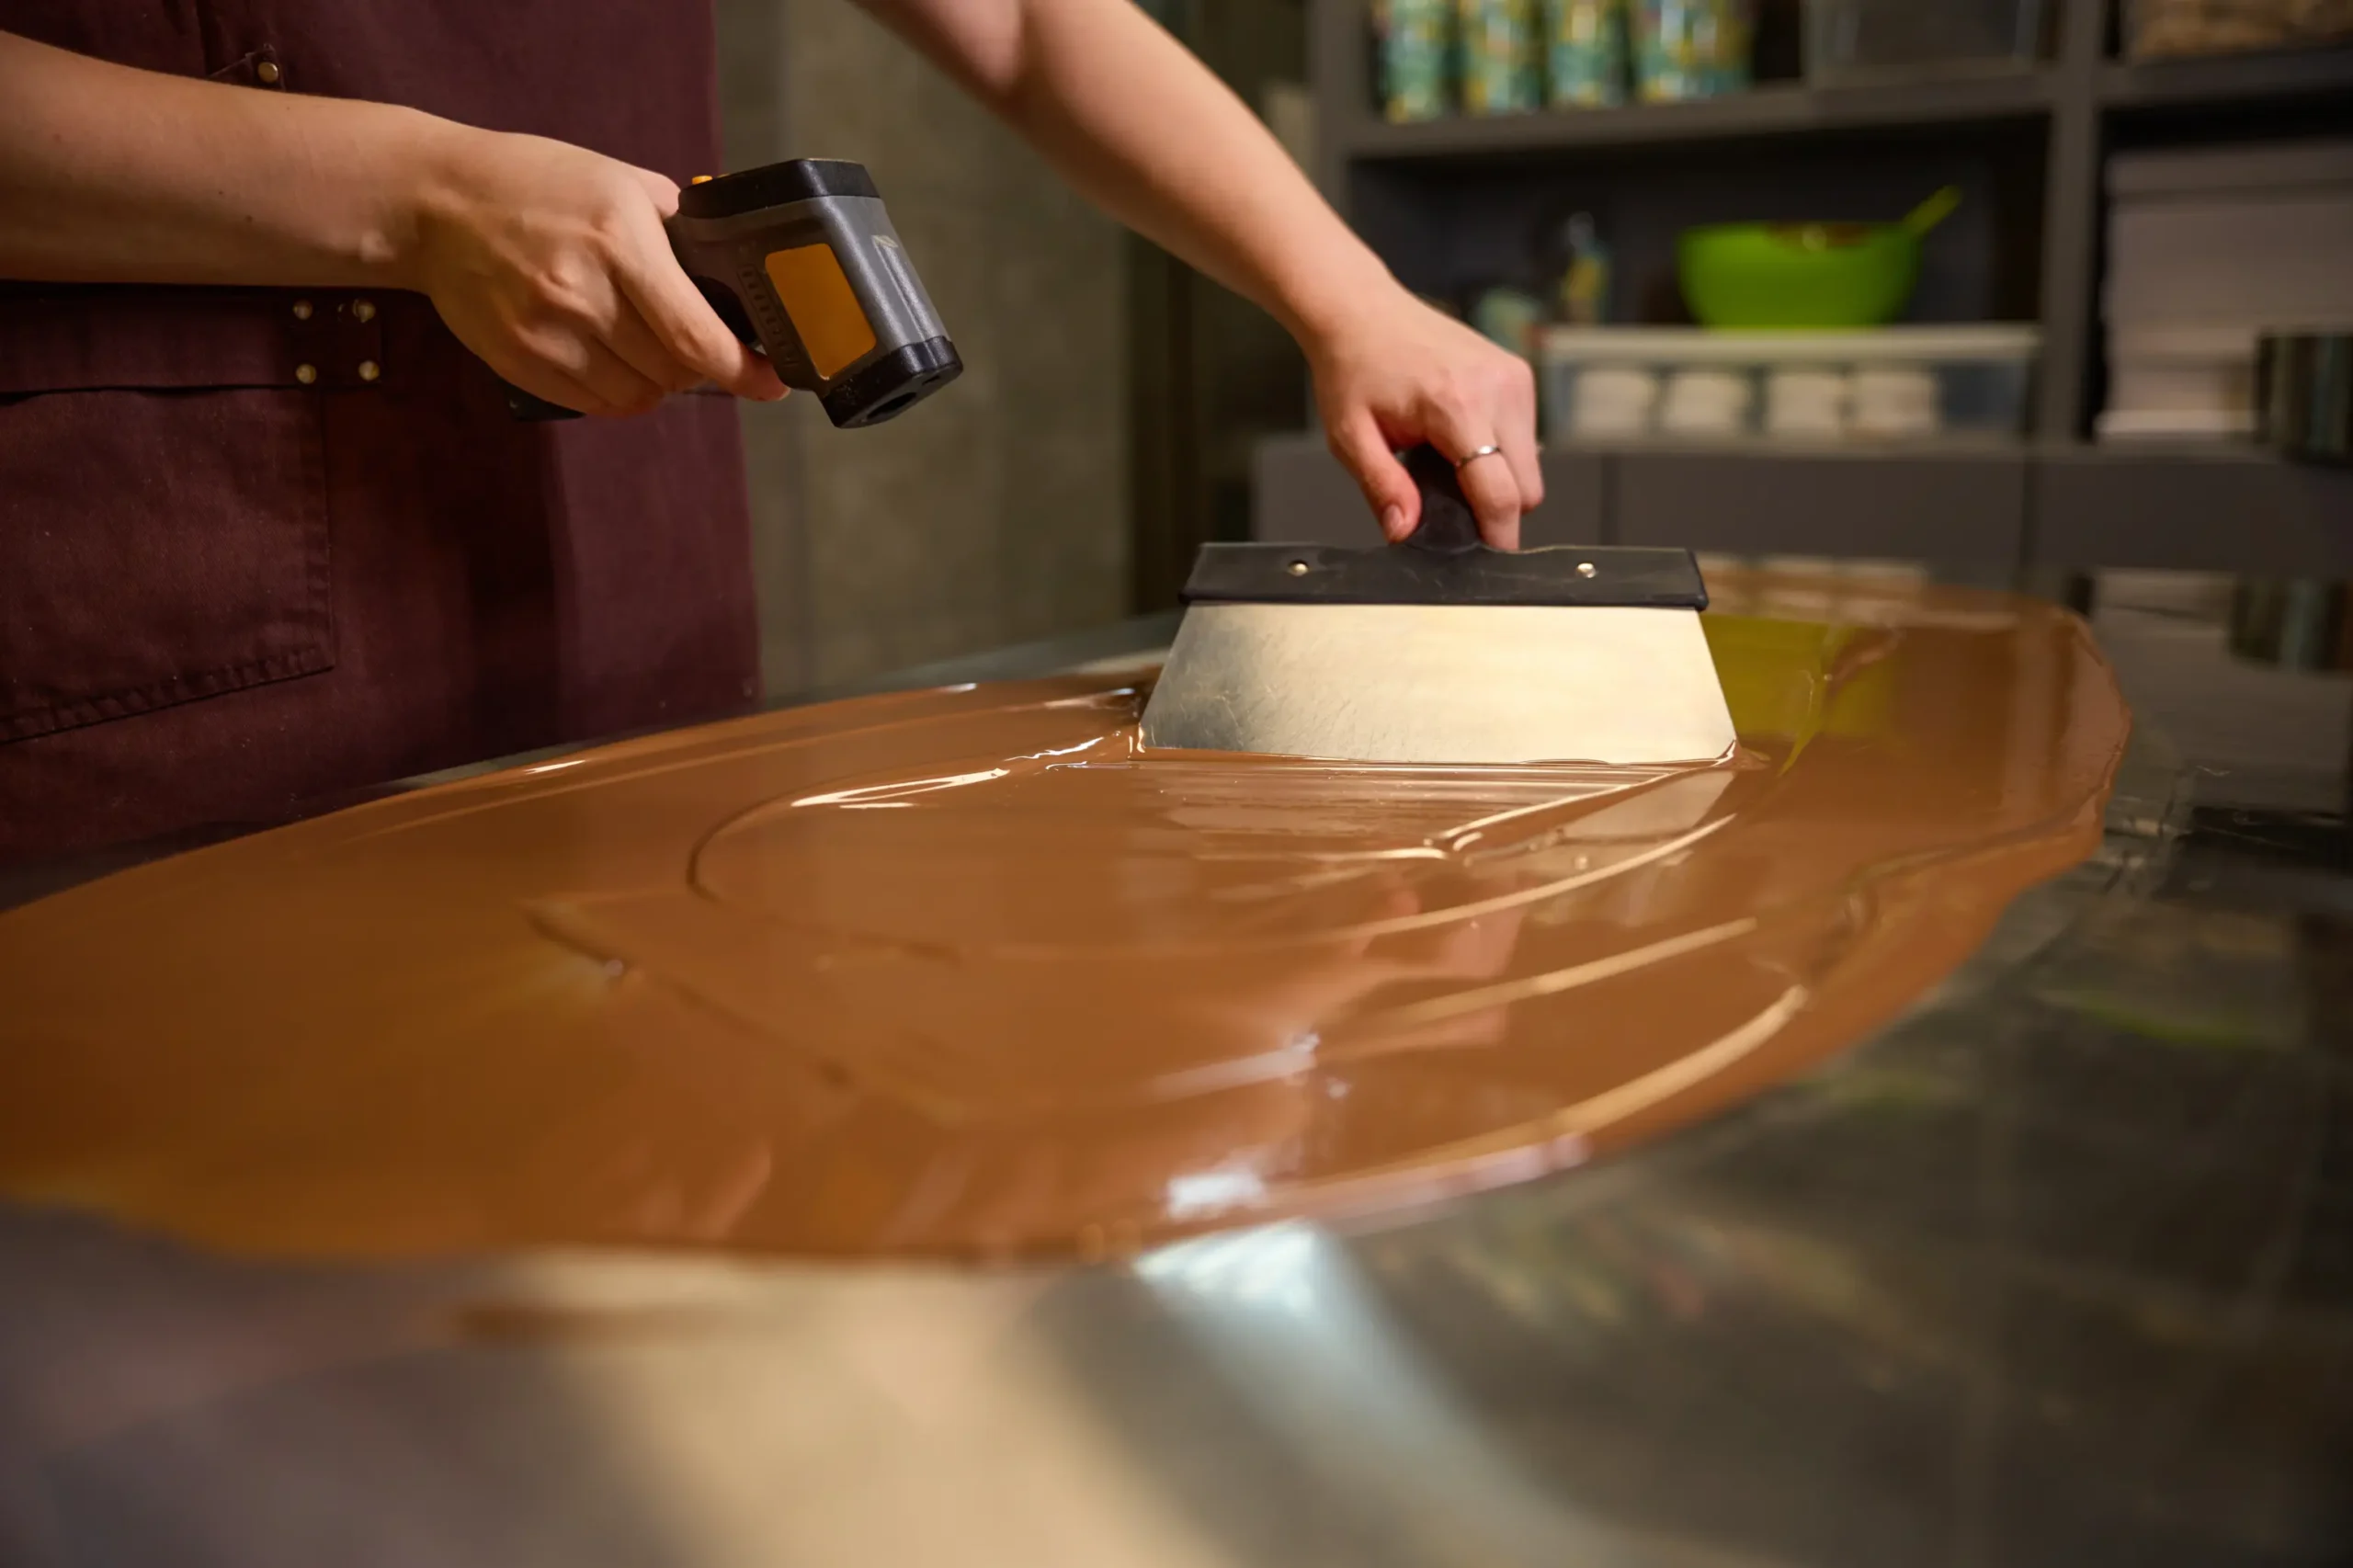
- Pour on Marble Slab
- Pour two-thirds of the melted chocolate onto a clean, cool marble slab.
- With a heat-resistant spatula and a scraper, spread and mix it continuously.
- Cool Down
- Spread and fold the chocolate until it cools down to 81°F.
- This forms stable cocoa butter crystals.
- Reintegrate with Remaining Chocolate
- Scrape the cooled chocolate back into the bowl containing the remaining warm chocolate.
- Mix until smooth, ensuring consistent temperature.
- Check Temperature Again
- Make sure the mixture reaches 88°F – 90°F.
- If too cool, gently reheat until it reaches this range.
Up next… let’s talk about common mistakes and how to avoid them!
Microwave Method
Tempering chocolate in the microwave is both easy and quick. You will need patience, though, to get it just right.
- Start with at least 16 ounces of chocolate. This amount helps maintain an even temperature.
- Break the chocolate bar into small pieces for even melting. You can also chop it with a food processor if you prefer.
- Place two-thirds of the chopped chocolate in a microwave-safe bowl.
- Heat the chocolate on 50% power for 1-minute intervals. Stir after each minute.
- Check the temperature of the melted chocolate after each round of heating using a thermometer. Aim for 100°F to 110°F.
- Remove from the microwave once it reaches that temperature range.
- Gradually add the remaining third of unmelted chocolate pieces to the bowl. Stir them in slowly until they melt completely.
- Keep stirring until the temperature drops to between 84°F and 91°F.
- If lumps remain, use gentle heat (10-second bursts) on low power to smooth them out.
This method ensures your milk, semisweet, or bittersweet chocolates are perfectly tempered and ready for dipping chocolates or filling molds!
Common Mistakes and How to Avoid Them
Sometimes chocolate hardens into lumps instead of melting smoothly… but don’t worry, I’ve got tips to help avoid these common mistakes!
Overheating the Chocolate

Overheating chocolate can really mess up the tempering process. Chocolate breaks down if it goes above 145°F (62°C). This makes it thick and grainy. I once overheated a batch, and it seized up on me—I couldn’t use it at all.
To avoid this problem, I always keep an eye on my thermometer. It’s key to stay within the right temperature range: melt milk or semisweet chocolate to no more than 115°F (46°C) but not below 81°F (27°C).
The right heat source helps too; using something gentle like a water bath prevents sudden spikes in temperature.
Inadequate Stirring
Inadequate stirring is a common problem but so easy to fix! Gradually add the remaining chocolate, stirring until it reaches 84°F. This temperature is key for forming stable crystals.
Stirring encourages the formation of these stable chocolate crystals which leads to that perfect, glossy finish we all love.
I’ve found that rushing this step causes big issues. The chocolate can end up with uneven tampering and unstable crystals. You might see dull spots or even worse—it could seize up on you entirely! Trust me, taking your time and stirring very well, while continuously scraping down the sides of the bowl makes all the difference for flawless results every time.
Humidity Issues
Humidity can be a real headache when tempering chocolate. Even tiny amounts of moisture in the air can cause chocolate to seize. It’s crucial to work in a dry environment and ensure that all your tools are completely dry before you start. The cocoa butter crystals just wouldn’t form properly, leaving you with a sticky mess instead of smooth, shiny chocolate.
To salvage slightly seized chocolate, melt some butter or oil and stir vigorously; it works like magic! Always keep an eye on weather conditions, especially during rainy days…
Conclusion
Tempering chocolate might seem tricky, but it’s worth the effort. With the right tools and a bit of patience, anyone can do it. Follow these methods to get smooth and shiny results every time.
Enjoy making delicious treats for everyone!
FAQs
1. What is tempering chocolate?
Tempering is a process to heat and cool chocolate so it forms the right crystals.
2. Can I use sous vide for tempering milk chocolate?
Yes, using sous-vide helps keep the temperature steady for perfect crystal formation.
3. Why do I need to recrystallize my chocolate?
Recrystallizing ensures your chocolate has a smooth texture and shiny finish.
4. How can boiling water help in tempering?
Boiling water can melt your cacao beans evenly before you start cooling them down.
5. Do I need special pans or molds for tempered chocolate?
Using proper pans and molds helps create beautiful shapes and textures like those from Callebaut chocolates.